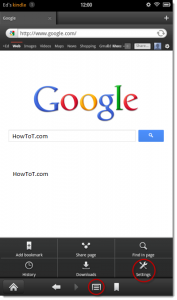
Amazon Kindle devices are automatically named when you activate them and showed in the upper-left-hand corner of the screen. There is a cool way change the name from your Amazon account.
Kindle devices are automatically named when you activate them to somewhat like, “Bibin’s Kindle.” A 2nd Kindle on your account will be named, “Bibin’s 2nd Kindle.” If you want to change the name to something a bit more evocative, like the specific model, here the steps:
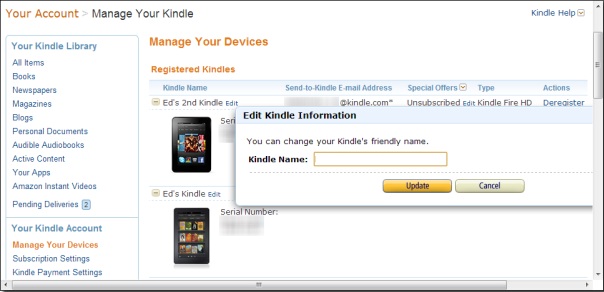
Step 1: Go to the Amazon Kindle management page and log in with your account you used to register your Kindle and go to “Your Kindle Account”, under this section, click on “Manage your Devices.”
Step 2: Click on the “edit” button next to the name of the Kindle you want to rename.
Step 3: Enter the name you want to use, then click the “update” button.
That’s it!. This new name should show up the next time it syncs or you can try to synchronize it manually. If it doesn’t show up right away, you can also attempt restarting your Kindle, then force for synchronization.


